
Advanced Custom Fields(通称:ACF)の使い方についての備忘録です。
この記事ではフィールドタイプ「画像」の設定と出力する方法について解説しています。
フィールド項目を入力するところからの解説となりますので、あらかじめご了承ください。
↓フィールドグループを新規追加するまでの手順はコチラに記載してあります。
Advanced Custom Fields – テキストを出力
画像のフィールド項目を入力
フィールドの項目を入力するところからやっていきます。
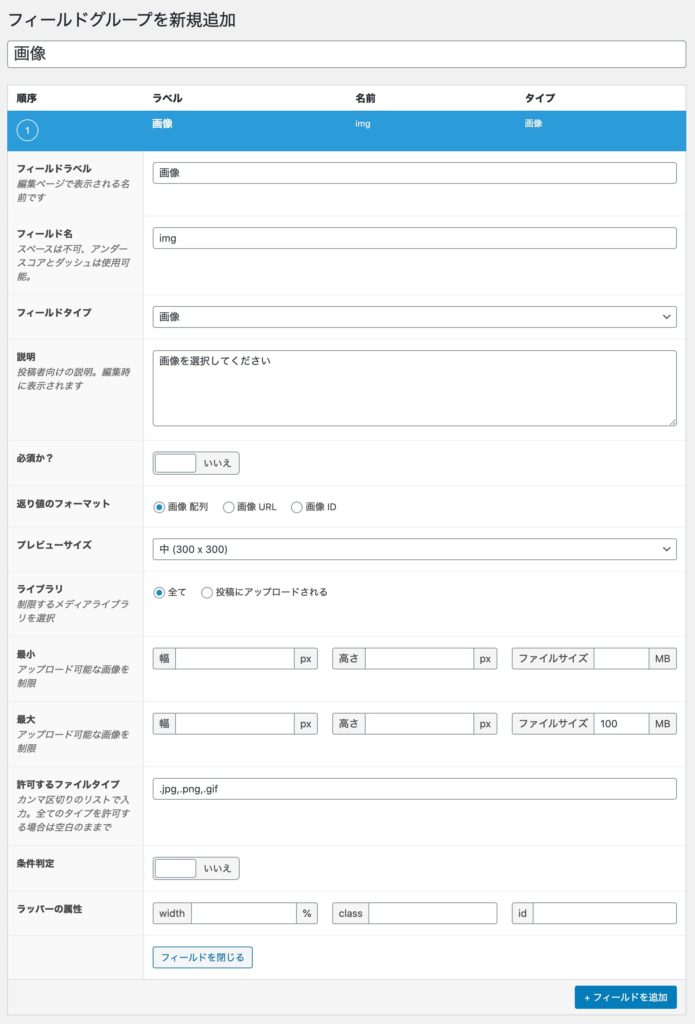
今回設定したフィールドの項目は以下の通り。
| フィールド項目 | 入力値 | 説明 |
|---|---|---|
| フィールドラベル | 画像 | 編集画面で表示される名前 |
| フィールド名 | img | サイトに表示するときに指定するフィールド名 |
| フィールドタイプ | 画像 | フィールドタイプを選択 |
| 説明 | 画像を選択してください | このフィールドに対する説明を入力 |
| 返り値のフォーマット | 画像 配列 | 出力する際の返り値のフォーマットを選択 |
| プレビューサイズ | 中(300 × 300) | 編集画面に表示される画像のプレビューサイズを設定 |
| ライブラリ | 全て | メディアアップロードボタンをクリックしたときの画像一覧の表示方法を選択 |
| 最大 ファイルサイズ | 100 MB | 画像アップロードの、幅、高さ、ファイルサイズの最小値・最大値を制限 |
| 許可するファイルタイプ | .jpg,.png,.gif | アップロードするファイルタイプを制限。全てのファイルタイプを許可する場合は、未入力 |
入力が完了したら「公開」をクリックして保存します。
次に投稿画面にいきます。
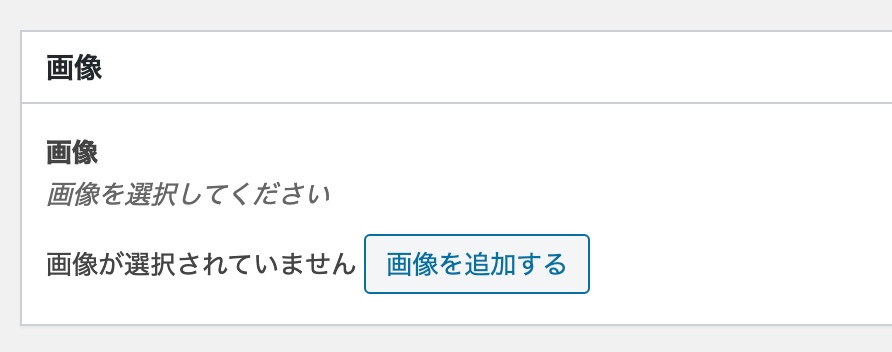
投稿画面を表示すると先程設定したカスタムフィールドが表示されました。
投稿に使用する画像を選択します。
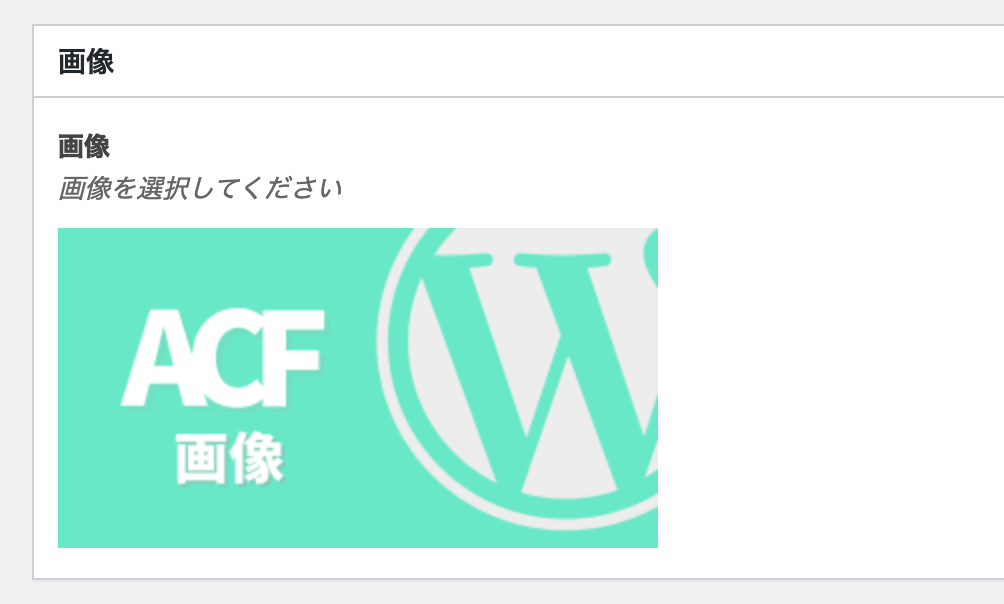
画像が表示されました。
ここに表示される画像のサイズが、フィールド項目で設定したプレビューサイズ「中(300 × 300)」となっています。
それでは選択したら公開します。
ACF 画像フィールドの値を出力
ACF のカスタムフィールドの値を出力するにはthe_field( )関数を使います。
この関数はフィールドに入力した値をそのまま出力したい場合に用いられます。
出力せずに値だけを受け取りたい場合はget_field( )関数を使います。
この関数は値を出力しません。値だけを受け取るので、なにか加工してから表示させたいなどといった場合に用いられます。
それでは先程選択した画像がどのように出力されるか試してみましょう。
まずは$img = get_field('img')で値を受け取り、var_dump($img)で中身を確認します。
フィールド項目、返り値のフォーマットを「画像 配列」としたので、変数の中身は、下記のような配列になっています。
array(24) {
  ["ID"]=>
  int(64)
  ["id"]=>
  int(64)
  ["title"]=>
  string(10) "ACF 画像"
  ["filename"]=>
  string(10) "画像.png"
  ["filesize"]=>
  int(99564)
  ["url"]=>
  string(68) "http://localhost:8888/DemoSite/wp-content/uploads/2020/07/画像.png"
  ["link"]=>
  string(84) "http://localhost:8888/DemoSite/2020/07/22/advanced-custom-fields/%e7%94%bb%e5%83%8f/"
  ["alt"]=>
  string(10) "ACF 画像"
  ["author"]=>
  string(1) "1"
  ["description"]=>
  string(0) ""
  ["caption"]=>
  string(0) ""
  ["name"]=>
  string(18) "%e7%94%bb%e5%83%8f"
  ["status"]=>
  string(7) "inherit"
  ["uploaded_to"]=>
  int(34)
  ["date"]=>
  string(19) "2020-07-28 00:08:35"
  ["modified"]=>
  string(19) "2020-07-28 00:10:27"
  ["menu_order"]=>
  int(0)
  ["mime_type"]=>
  string(9) "image/png"
  ["type"]=>
  string(5) "image"
  ["subtype"]=>
  string(3) "png"
  ["icon"]=>
  string(67) "http://localhost:8888/DemoSite/wp-includes/images/media/default.png"
  ["width"]=>
  int(1500)
  ["height"]=>
  int(800)
  ["sizes"]=>
  array(21) {
    ["thumbnail"]=>
    string(76) "http://localhost:8888/DemoSite/wp-content/uploads/2020/07/画像-150x150.png"
    ["thumbnail-width"]=>
    int(150)
    ["thumbnail-height"]=>
    int(150)
    ["medium"]=>
    string(76) "http://localhost:8888/DemoSite/wp-content/uploads/2020/07/画像-300x160.png"
    ["medium-width"]=>
    int(300)
    ["medium-height"]=>
    int(160)
    ["medium_large"]=>
    string(76) "http://localhost:8888/DemoSite/wp-content/uploads/2020/07/画像-768x410.png"
    ["medium_large-width"]=>
    int(768)
    ["medium_large-height"]=>
    int(410)
    ["large"]=>
    string(77) "http://localhost:8888/DemoSite/wp-content/uploads/2020/07/画像-1024x546.png"
    ["large-width"]=>
    int(1024)
    ["large-height"]=>
    int(546)
    ["1536x1536"]=>
    string(68) "http://localhost:8888/DemoSite/wp-content/uploads/2020/07/画像.png"
    ["1536x1536-width"]=>
    int(1500)
    ["1536x1536-height"]=>
    int(800)
    ["2048x2048"]=>
    string(68) "http://localhost:8888/DemoSite/wp-content/uploads/2020/07/画像.png"
    ["2048x2048-width"]=>
    int(1500)
    ["2048x2048-height"]=>
    int(800)
    ["small"]=>
    string(76) "http://localhost:8888/DemoSite/wp-content/uploads/2020/07/画像-600x320.png"
    ["small-width"]=>
    int(600)
    ["small-height"]=>
    int(320)
  }
}
では画像を表示させます。
画像を表示させたい場合は、画像のURLを取得して、imgタグの src属性に URLを PHPで出力すればよいでしょう。
下記コードの場合は['sizes']より['medium']を選択した場合です。
<?php $img = get_field('img'); ?>
<img src="<?php echo $img['sizes']['medium']; ?>" alt="<?php echo $img['alt']; ?>">
確認してみます。
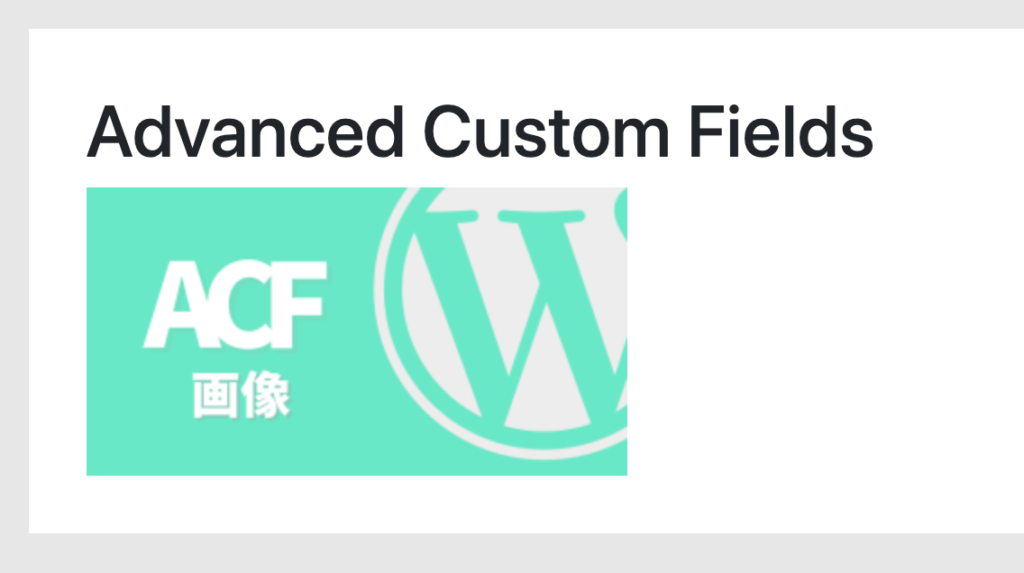
これで画像が表示されました。
以上です。